Wednesday, August 25, 2010

First Real Test . . .

Nothing much happening in the way of construction as "Suzi" is out and about !!
Just a small run on the spur of the moment to a place called Mount Observation about 65km in a direct line from where I live in Perth right on the edge of a National Park.


I thought it would be a good test to see what it's really like. I did not load any food and just stopped in a small town along the way to pick up supplies
- just like I'd have to if I was travelling for an extended period. It certainly reminds you of all the small items you have in your cupboards and fridge that you only think about when you run out, because I ran out of everything.
Arrived just on lunch time and was able to get organised without too much trouble. Took the bike down and then realised that I had not filled it after the last trip nor had I filled the jerry cans. Dumb! The nearest town was about 20km away so a trip there was required just to get a full tank. Back by about 3pm and just enough time for a short trip around a small part of the national park which extends for some 200 miles south.
The temperature started to drop fairly quickly as the sun went down so dinner was a barbeque and some stir fry vegetables. Already I can see I will have to rearrange where I carry nearly everything in order to make things more convenient.


This is a typical Aussie picnic spot, you can just see a concrete fire pit in the background alongside the next log table and seats.


The unusual bit was that there was a well kept toilet here as well!

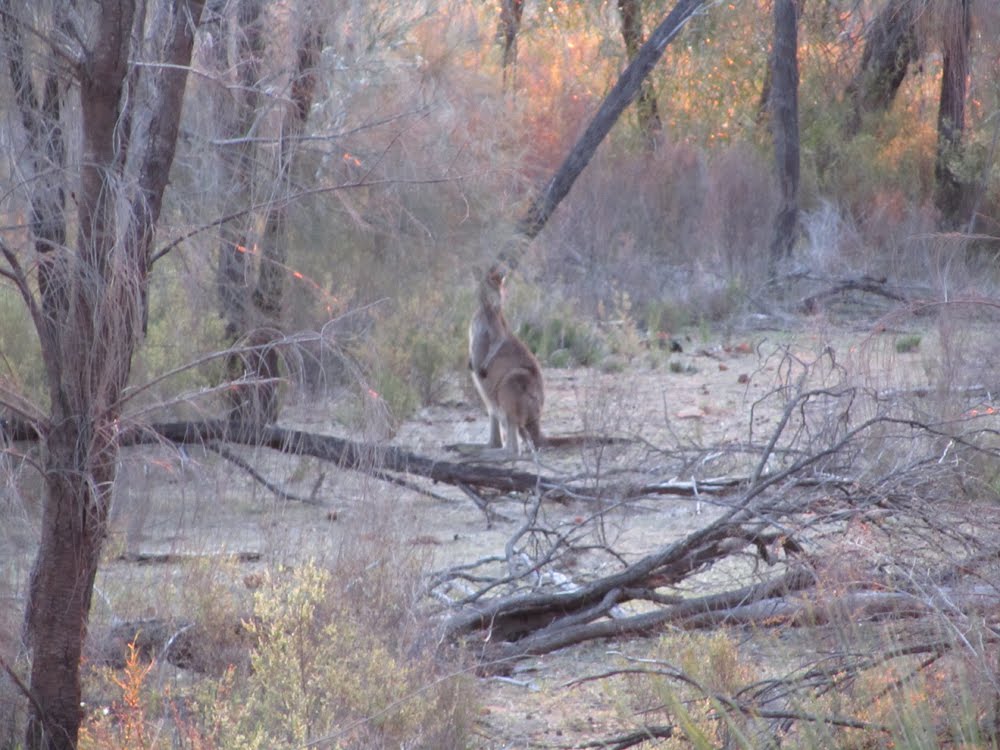
As the sun went down


I was joined by some of the local wildlife


When it got properly dark I repaired to the truck and set up the computer etc..
A friend rang my mobile while I was doing it and, I find it amazing, I was able to connect with my wireless modem and solve a problem on his computer and then go on to produce this blog post. . .


To someone who finished schooling and started work before the invention of the PC it's quite mind boggling.

Wednesday, August 18, 2010

The Other Half . . .

of the drawer problem that is :)
All that's needed is a little catch to be put on the drawer for the lock pin to bear against when locked.
(You can see a video of the whole operation here and here).


Fortunately the fridge misses when the lock is both open


and of course when closed.


and I still haven't figured out how to get the top one to work yet.
I might have to end up with one of those "kid proof" locks or something glued to the front.
Pretty ugly but I'm getting desperate . . .

Monday, August 16, 2010

Just a Little Test Run . . .

My computer suffered another meltdown!

While waiting for a replacement part I decided to do a little test run through a couple of towns about 100km away. It all went well apart from the drawers next/under the sink don't want to stay closed. All the other drawers and cupboards seem to be fine, it's just these ones. After much searching through furniture manufacturers' catalogues the best I could come up with is these.


I used them before on some of the other cupboards but the way the drawers are made led me to think they could not be used here. They are meant to go straight through the front and have a striker on the frame or cross piece between the drawers. These drawers don't have a frame!!
However, I reckon I can use them differently and mount them from the side of the carcase and use the actuating pin against a stop mounted on the side of the drawer. Sort of back to front . . .
This is what it looks like unlocked


and locked


First thing is to drill a hole (hopefully in the correct spot) through the side of the drawer cupboard to fit the lock barrel but not going all the way through.


You can see there are no cross pieces to lock against.


Where the point of the drill comes through on the other side allows for marking out the securing screws


and drilling the necessary holes from this side.


Then a larger hole for the locking pin to come through.


Tomorrow I'll fit the lock and the striker on the side of the drawer and then if that works as well as hoped I can do the other three, although the top drawer is going to have it's own problems as I can't get to the side of the carcase because of the fridge fascia board.
There's always some little thing . . . .

Monday, August 09, 2010

Not Completely Abandoned . . .

While trying to organise the rest of my life there are still a few little jobs which need to be attended to; the end caps for the tail-light bar seemed like a good place to start. . .
Fortunately there were a couple of pieces of my favourite acetal in the rack.
First step was to machine a "plug" to fit inside the end of the tube.
You can see video of the machining here.


then machine off the excess to match the outside of the tube
You can see a video of the machining here.


and finally round over the edge (just to be neat)
You can see a video of he machining here.


Turned out rather nicely I think


Despite being a nice "tap" fit into the tube I couldn't resist adding a stainless steel screw to make sure it would stay there.


I had noticed before that the step treads were starting to crack. They were cannibalised from a very cheap ladder and are made of sheet metal about 1mm thick, not a good prognosis for longevity so some repair work was in order.


At each hinge point the (surprise) powder coating was ground off


and a washer the correct size tacked in place


then fully welded (it's like trying to weld brown paper on that 1mm sheet metal)


and ground flat again.


This will be primed and repainted along with the rest of the steps and hopefully wont even be noticed, apart from the reduced likelihood of pitching me into a severe injury!

Monday, August 02, 2010

It's The Little Things That Get You

I needed to use a separate "earth" or "neutral" or "return" wire (whatever you want to call it) for each light as I never use the chassis as part of the circuit and if I ever needed to remove one light it couldn't be connected to the other earths as the wires for each light went through a separate hole behind each light and needed to be independent. (I hope that all makes sense!) Anyway the point of all that is I ended up with so many wires a rather large junction box needed to be tucked into the rear end of the chassis. It also took a whole day (with interruptions; a few new people seem to have heard of the truck and are turning up wanting to look and "kick tyres").
Before too long however it was all ready to go back together so the truck was backed up into position and of course I overlooked that pesky little exhaust pipe for the generator. (That saga never seems to end!) So that had to come off and be modified. I actually think the redirected pipe is slightly quieter as it points at the ground now so "silver linings" and all that . . .
You can see here the mounting pad way over to the left and the pipe on the right about to be crushed if it was lowered any further at that point; and of course the lovely new lights below.


With that fixed it could be lowered all the way down and bolted up. The only drawback is that the toolbox cross bars get in the way of reaching the securing bolts. A modified spanner and some extension tubes nearly fixed that ( I suppose I have to carry them with me now too) but there was still one last bolt which I could not get full torque on. It is done up tight but not as tight as I would like . . . still there are five more on each mount that will have to do.
With the body in place the toolboxes could be mounted up and finally bolted in tight.


I think they fit in quite well and don't compromise the departure angle tooooo much.
Since then there have been a few other activities in the shop which have nothing to do with the truck and a little more motorcycling as the nice weather returns.
As I have been tidying up I have been trying to decide what to put in and where to put it. The temptation is to take way too much. It's actually built now with remarkably few things left to do, like lining cupboards and selecting storage boxes to fit various spaces so I don't need to take all the things necessary to build it again as spares. Hopefully little will break and in reality I will probably be passing through at least one town every day or so for the early parts of the around Australia proving tests. It's about 8.5 tonnes dry and 9.5 tonnes wet and provisioned so it's no lightweight. I have some things to do which will keep me here for a little while yet and I don't seem to be able to find the enthusiasm for little short hops which I had anticipated a while ago.
So expect things to be a little quiet for a while as I just work out what to take and where to put it and what to do with everything left behind.